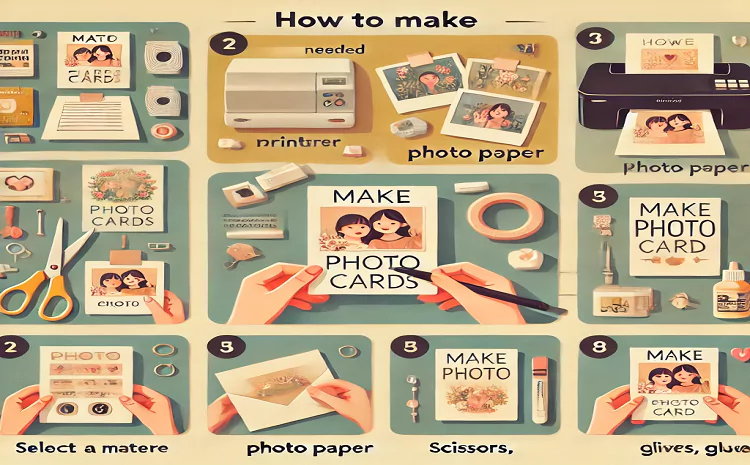
Do you want to make photocards for friends, family, or even yourself? Creating photo cards at home is a fun, creative way to personalize gifts and keep memories. With a few simple tools, you can design and print your own photocards right from the comfort of home.
Key Takeaways
- Making photo cards at home is easy and affordable.
- You only need basic materials like paper, photos, and a printer.
- This guide will cover DIY methods to create custom photocards.
Why Make Photocards at Home?
Photo cards are a great way to express creativity, capture memories, and make personalized gifts. When you make photo cards at home, you have complete control over the design, style, and finish. Plus, DIY photocards save money and let you add a personal touch.
Benefits of DIY Photocards
- Affordable: Less expensive than ordering from a professional.
- Customizable: Choose your own images, colors, and text.
- Fun and creative: Making photocards can be a relaxing hobby.
Whether you’re making holiday cards, thank-you cards, or simply want to display memories, DIY photocards are a great option.
Steps to Make Photocards at Home
Ready to start? Follow these steps to make photocards from start to finish.
Select Your Photos
Choosing the right photos is the first step in creating memorable photo cards. Pick images that are high-quality and meaningful for the occasion.
Tips for Choosing Photos
- Use clear, high-resolution photos for the best results.
- Choose images with good lighting and contrast.
- Match the photo style to the card’s theme (e.g., holiday, birthday).
If you’re making a series of DIY photocards, it’s a good idea to select similar photos to create a cohesive look.
Design Your Photocards
Designing is where you get to be creative! You can use software or online tools to arrange your photos and add text. Simple programs like Canva, Microsoft Word, or even Google Docs work well for creating basic designs.
Design Tips
- Add text: Include a short message or date.
- Use borders: A simple border around the photo makes it stand out.
- Choose a theme: Match colors and fonts to the occasion.
Remember to save your design in high quality for the best print results.
Print Your Photocards
Once you have your design, it’s time to print. Printing photo cards at home is easy with a good printer and the right paper.
Printing Tips
- Use photo paper or high-quality cardstock for a professional finish.
- Set the printer to the highest quality for clear prints.
- Print a test card first to check colors and layout.
If you don’t have a printer, you can save the design file and print it at a local print shop.
Cut and Assemble
After printing, use scissors or a paper trimmer to cut your photocards to size. Clean, even cuts will give your cards a more polished look.
Assembly Tips
- Trim any white borders if desired.
- Attach the photo to a backing card with glue or double-sided tape.
- Decorate with stickers, markers, or other embellishments for a unique touch.
This step is all about adding the final details that make your photo cards stand out.
Ideas for Personalizing Your Photocards
Adding personal touches to your photocards can make them extra special. Here are some ideas:
- Add a handwritten message: Write a short note on the back or inside.
- Use themed decorations: Add stickers or embellishments for holidays.
- Include fun props: Use small objects like dried flowers for added texture.
Final Tips for Making Photocards at Home
Making photo cards at home can be an enjoyable and rewarding DIY project. Here’s a quick recap:
- Choose quality photos and match them to the card’s theme.
- Design with care, adding text and borders if desired.
- Print on photo paper for a professional look, and trim neatly.
With these tips, you can create beautiful photocards to share memories and special moments with family and friends. Enjoy the process of making DIY photocards that truly reflect your personality!

